
In this article I will show how to configure a KeyCloak server. And I will use it in a Spring Cloud and Spring Boot architecture as an authorization server where a Spring Cloud Gateway will try to authenticate.
Content
- Keycloak
- Authorization Server
- Resources Server
- Client Server
You can also find all the details in the following video.
The code used in the article can be found in this repository.
Keycloak
Keycloak is a tendency for identity and access management. Today, I will show how to configure it as an Authorization Server in front of a Spring Cloud Gateway client.
First of all, Keycloak is considered as a single sign-on system. This means that multiple clients can delegate the end user authentication to Keycloak.
Let’s say I am trying to enter a protected building where each door gives a personalized experience of leisure. But each door is locked and only opens upon the presentation of a key card. I can choose whatever a personalized leisure room I want to enter. It’s like registering on some different websites.
The keycard represents Keycloak. If the door is able to read the keycard, it means that the door is connected to the central server of Keycloak as a trusted client. I need, by myself, to register on the central server as a regular user, to also be known by Keycloak.
Finally, when trying to enter a room, a message will be displayed on the door to confirm that’s me, what’s behind the door, and which personal data will be used. If I accept, the room will be able to access some of my personal data to give me a personalized leisure experience. The room, the client, never asked me about my identity. The form on the screen comes from the central server from Keycloak. The client delegated the authentication to Keycloak.
Let’s represent this in the real world. I’m still the end user. The doors are the websites which will use some of my personal data to give me a personalized experience. And the key card is my credentials of my account in Keycloak.
I’ve created a user account in Keycloak. This will be my master account, the only account needed for all the websites. Each website must be also registered with Keycloak as trusted clients. A secured ID and secret will be used to trust and authenticate the communication from each client.
Finally, the data requested by the websites will be stored in third parties applications. This data is protected behind Keycloak. If any website wants to access my personal data located on those third applications, Keycloak must trust the website, certify I’m the one which tries to access the data, and validate which data will be accessed. Those are called the resource servers.
Okay, all of this is based on the already known OAuth2 protocol and OpenID Connect.
Authorization Server
version: '3'

services:
  db:
    image: postgres:13.5
    environment:
      POSTGRES_HOST_AUTH_METHOD: trust
      POSTGRES_USER: my_admin
      POSTGRES_PASSWORD: my_password
      POSTGRES_DB: keycloak_db
    ports:
      - 5432:5432
  kc:
    image: quay.io/keycloak/keycloak:legacy
    environment:
      DB_VENDOR: POSTGRES
      DB_ADDR: db
      DB_DATABASE: keycloak_db
      DB_USER: my_admin
      DB_SCHEMA: public
      DB_PASSWORD: my_password
      KEYCLOAK_HOSTNAME: backend-keycloak-auth
      KEYCLOAK_USER: kc_admin
      KEYCLOAK_PASSWORD: kc_password
    ports:
      - 8080:8080
    depends_on:
      - db
Let’s start by creating my Keycloak server. I will use a Docker-Compose system. On the first image, I have the database where Keycloak can save all its data and configuration. And on the second image, I have Keycloak itself.
At lines 8 and 9 are the credentials to connect to the database. And at line 10 is the name of the database. And now, from line 13, is the image for the Keycloak instance. First, I have the same information to connect to the database (at lines 18 to 21). Then, at line 22 I indicate the hostname I want to access the Keycloak instance. I had to add the same host name to the /etc/hosts file too with the localhost address. And finally, at lines 23 and 24, I’ve added the credentials to connect to the Keycloak administration console.

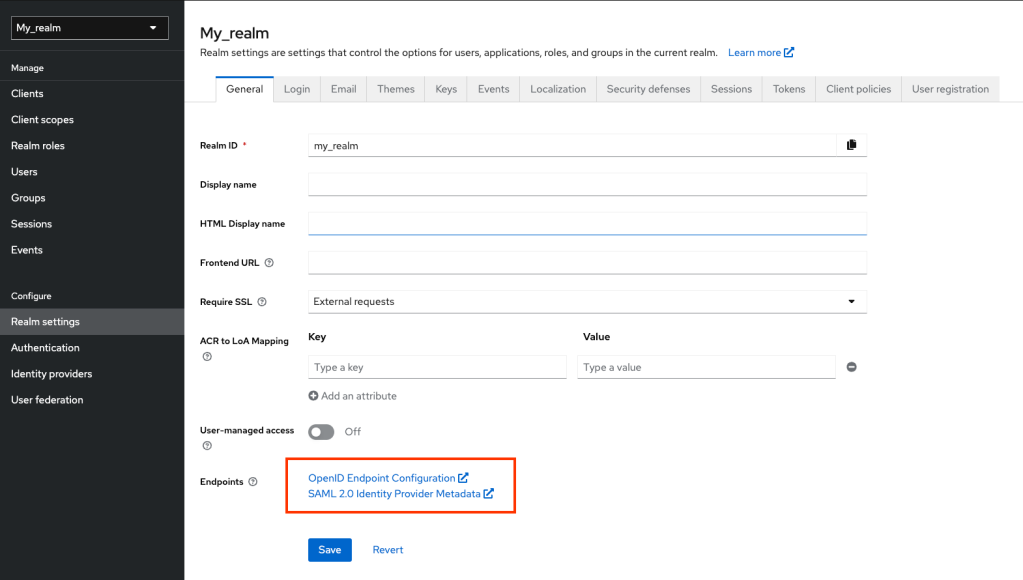
When starting Keycloak, the first thing I can see is the Realm. The Realm is like a tenant. It’s like a group of clients. It’s like the building where we’re located all the doors to the leisure rooms. I will create my own Realm to avoid using the master one.

Now that I’ve created my Realm, I need to get the URL all the clients will need to call, to delegate the Authentication.
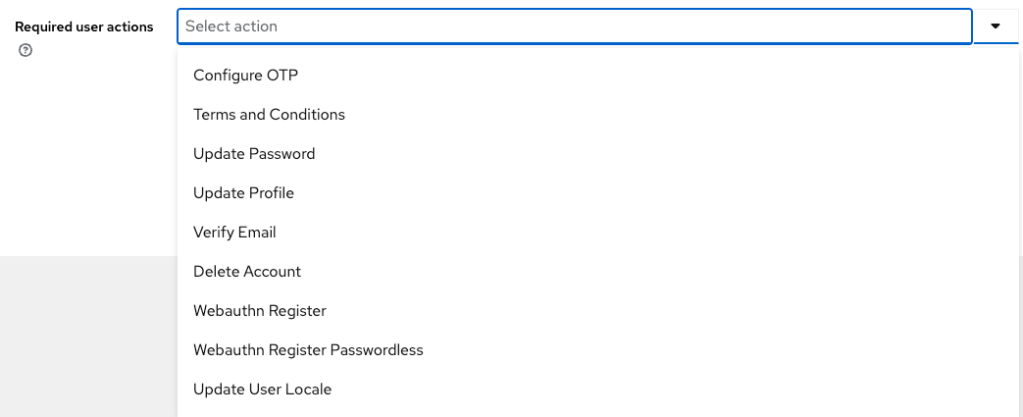
I will create now my personal account, my user account.
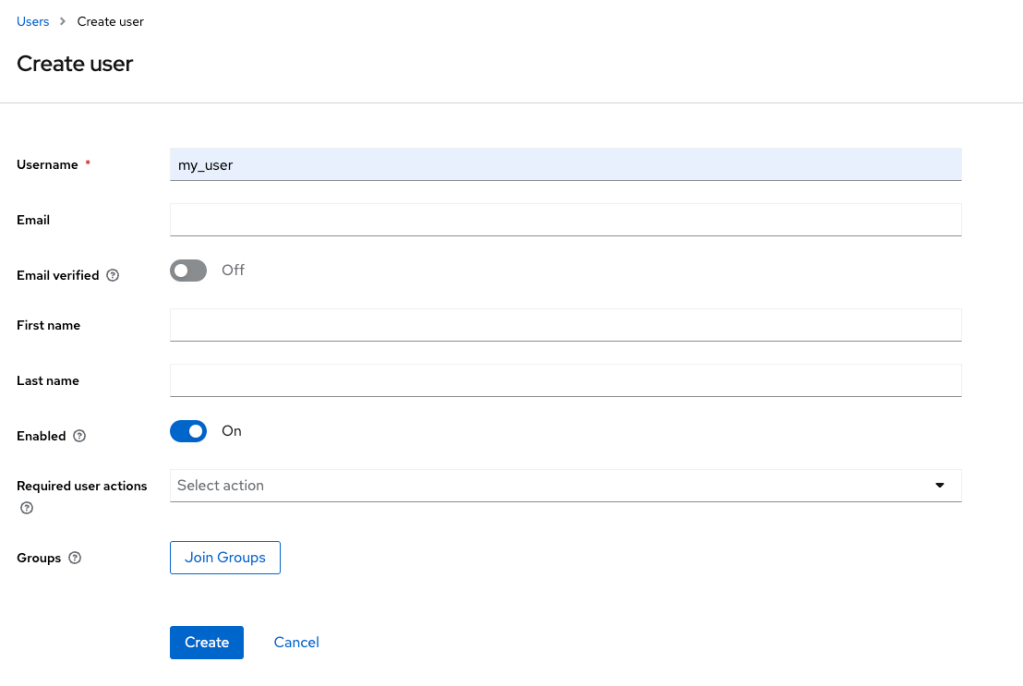
At each user creation, I can indicate some actions such as: completing the profile information, resetting the password, or to verify the email.
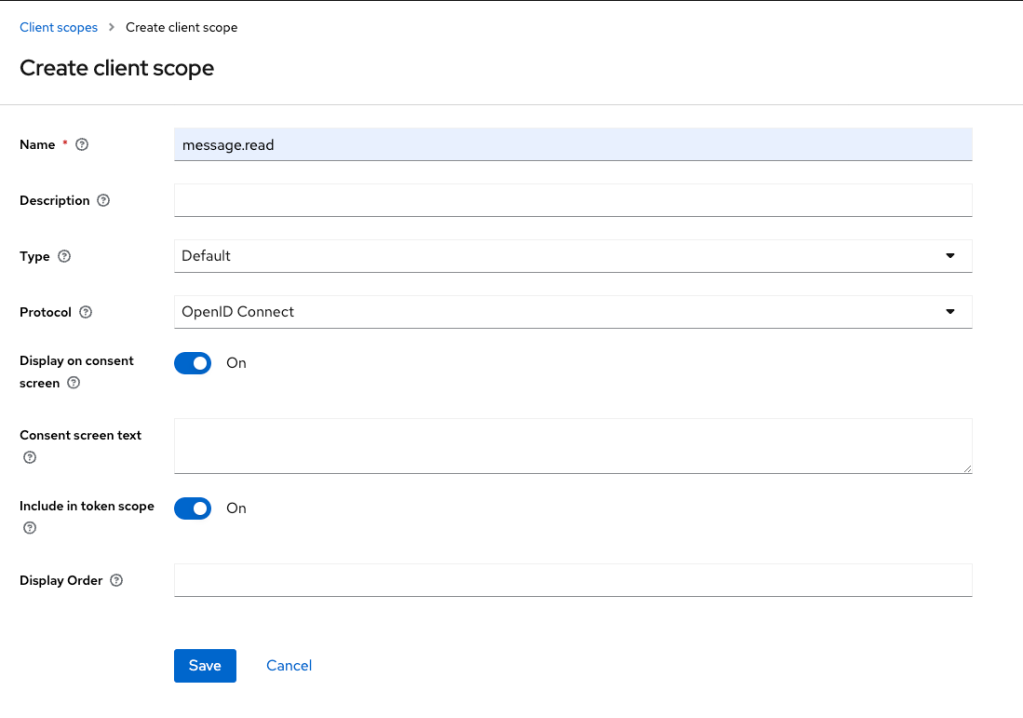
Before going to the client creation, I first need to create the scopes needed by the client to access my resources server.
Let’s go now with my client.

Those are the callback URLs that must be trust by Keycloak after the authentication is successful.

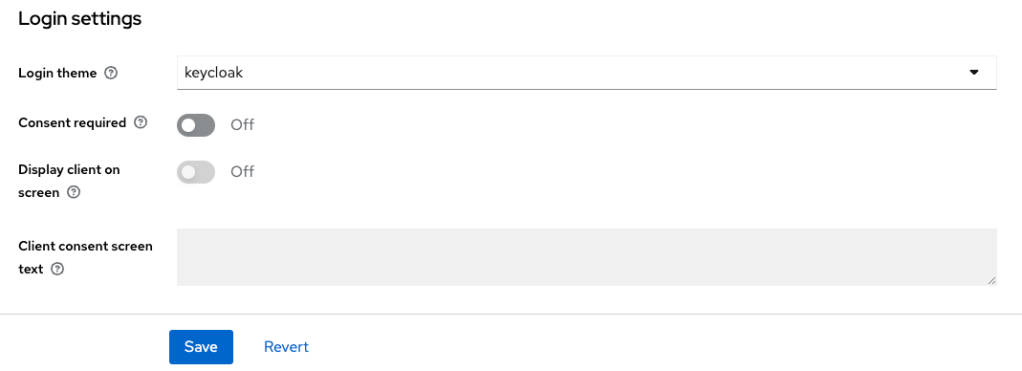
Here I can choose which login form will be displayed when the authentication is delegated to Keycloak.
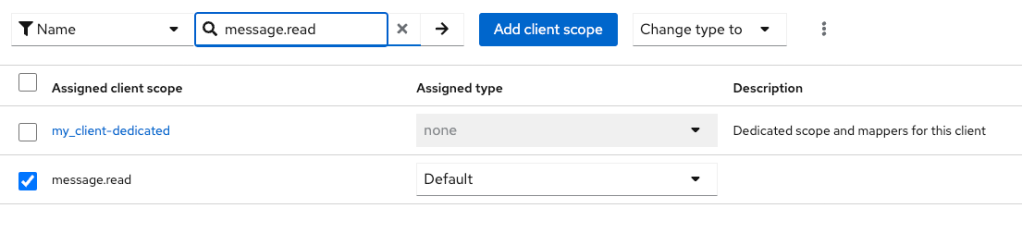
And finally, I indicate which scopes are necessary for this client.
Let’s get now the client security information and go to my client server.
Resources Server
Ok, my Keycloak server is ready. I have now a Sprint Boot application as a resource server and a Spring Cloud Gateway application as a client server. My Spring Cloud Gateway needs to access the resource server, but my resource server is protected behind Keycloak. So I must configure my resource server to validate the authentication tokens against Keycloak. And configure my Spring Cloud Gateway to delegate the authentication to Keycloak.
server:
  port: 8082

spring:
  application.name: backend-resources
  # the current backend is configured to be used as a resource server
  # then, I must indicate the URI of the backend-auth to be used and which token to be used
  security:
    oauth2:
      resourceserver:
        jwt:
          issuer-uri: http://backend-keycloak-auth:8080/auth/realms/my_realm
In the last line I have the endpoint I’ve copied from the Realm settings. This way, the resource server knows how to validate an authentication token. Let’s go now with the Spring Gateway.
Client Server
server:
  port: 8083

spring:
  application.name: backend-gateway-client
  cloud:
    gateway:
      routes:
        - id: resources
          uri: http://backend-resources:8082/messages
          predicates:
            Path=/messages/**
          filters:
            TokenRelay=
  security:
    oauth2:
      client:
        registration:
          gateway:
            provider: my-provider
            client-id: my_client
            client-secret: xxx
            authorization-grant-type: authorization_code
            redirect-uri: "http://backend-gateway-client:8083/login/oauth2/code/{registrationId}"
            scope: openid, message.read
        provider:
          my-provider:
            issuer-uri: http://backend-keycloak-auth:8080/auth/realms/my_realm
At lines 21 and 22 are the clientID and client-secret I’ve copied from my created client. And at line 28 is again the endpoint of my Realm.
After the logging is successful, I can see the active sessions of the user in Keycloak. I can also see the sessions created by my client.
The length of the sessions, the way they are created and more can be configured in the settings.
Conclusion
- I’ve created a Keycloak instance with a connected database.
- I’ve created a Realm which will group all my clients and users.
- I’ve created a single user as an end user which will be used to logging into the client website.
- I’ve created the Scopes needed by my resource server.
- I’ve created my client and obtained the ID and secret.
- I’ve indicated to my client which scopes and authorization flows are necessary.
- Then I’ve added the Keycloak URL to my resource server and client server.
- And I’ve also copied the client-ID and client-secret to my client server.

Leave a comment